
How to set up Stripe payments for HOA amenity reservations
Date published: August 16, 2026
Author: Kelly Fansler, Founder HOAResidents
Connect Stripe from HOAResidents Billing, add an optional booking fee to an amenity, and collect reservation payments. HOAResidents keeps $0 — money goes to your HOA’s Stripe account.
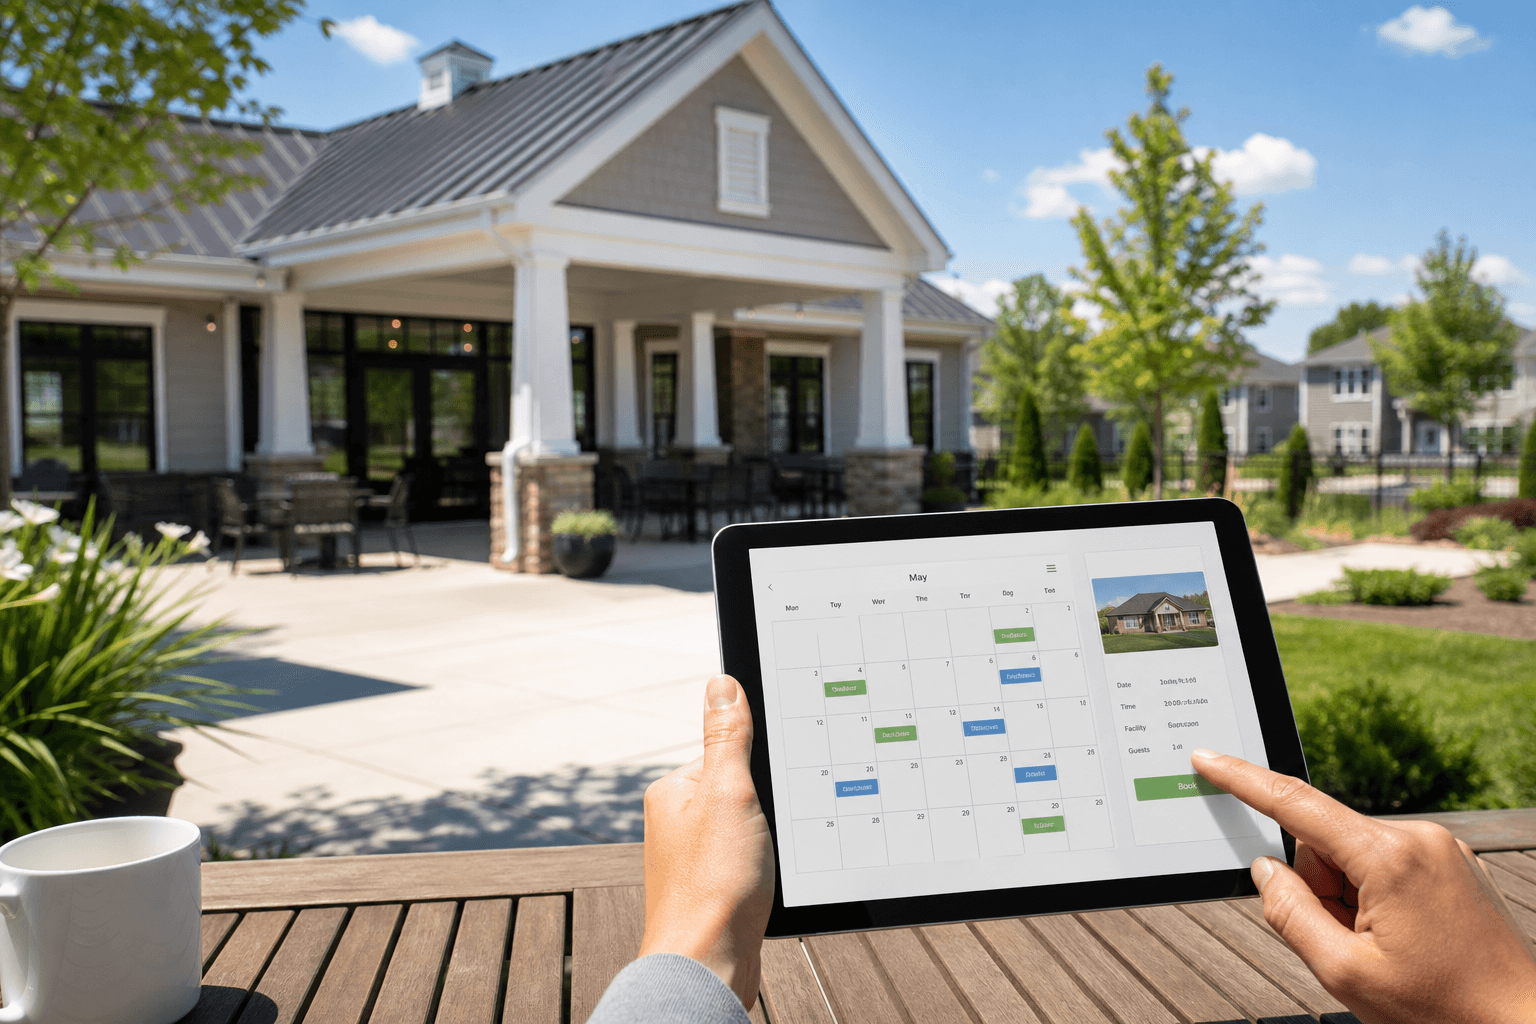
Some HOA amenities stay free — a tennis court, guest parking, a short cabana slot. Others need a booking fee: a clubhouse rental, a pavilion charge, or a court reservation fee. HOAResidents.com can collect that fee when a resident books, then send the money to your HOA’s Stripe account.
HOAResidents does not keep a cut of amenity payments. Card processing is handled by Stripe. You set the fee; the resident pays that amount at checkout; your association receives the fee minus Stripe’s card costs.
This guide is for HOA board admins who want to turn on paid reservations. Amenities stay free until you add a fee. If you have not set up calendars yet, start with HOA facility booking and amenity reservation payments, then come back here to connect Stripe.
Overview
- HOAResidents keeps $0 of amenity reservation payments. There is no platform cut on these charges.
- Money goes to your Stripe account, not to HOAResidents. Stripe pays out to the bank account you add during setup.
- Amenities can stay free. Leave the booking fee blank (or $0) and nothing changes. Add a fee only on the amenities you want to charge for.
- A fee does not require board approval. You can charge and confirm instantly, or charge first and require approval after payment.
- Stripe handles cards and payouts. You never paste secret API keys into HOAResidents. Connecting happens with a Stripe-hosted Express form from Billing.
Before you start
Have these ready:
- Admin access in HOAResidents. You must be able to open organization Settings and edit amenities.
- A Stripe account — or time to create one. If you do not have Stripe yet, you can create it during the Connect Stripe flow. You do not need to finish Stripe.com first.
- Business details Stripe may ask for. Typical items: legal name, address, tax ID if requested, a bank account for payouts, and identity verification for the person who controls the account. Stripe decides what it needs; we never store bank numbers or ID images.
Stripe.com setup
Most of the work happens from HOAResidents, not by copying keys from the Stripe Dashboard. Use this section so you know what Stripe is and where money shows up later.
1. Create or log into Stripe
- Open dashboard.stripe.com in a browser.
- Create a Stripe account or sign in if you already have one.
- If Stripe asks you to activate the account (business type, country, email), complete those basics. You can also do this when HOAResidents opens Stripe Express.
[Screenshot: Stripe Dashboard sign-in or create-account page]
Do not copy a secret API key, publishable key, or webhook secret into HOAResidents. HOAResidents never asks for those. Connecting happens with a Stripe-hosted Express form launched from your Billing page.
2. Onboarding is launched from HOAResidents (Express)
When you click Connect Stripe in HOAResidents, Stripe opens a cobranded Express onboarding page. That is the correct path. You are not wiring a custom Stripe integration by hand.
During Express onboarding, Stripe typically asks you to:
- Confirm your country and business type (company, nonprofit, individual, and so on)
- Enter legal name, address, and contact email
- Add a bank account for payouts
- Complete identity checks for the account representative (photo ID, as Stripe requires)
[Screenshot: Stripe Express onboarding — business details and bank account]
Finish every step Stripe marks as required. If you close the window early, return to HOAResidents → Settings → Billing and click Connect Stripe or Update Stripe account to continue.
3. Test mode vs Live mode
Stripe has a Test mode (fake cards, no real money) and a Live mode (real charges). For real reservation fees, your connected account must be in Live and fully verified. If a test booking works but live bookings do not, check that you finished Live onboarding — not only Test.
4. Where payouts and balance appear after someone pays
- In HOAResidents, open Settings → Billing and click Open Stripe dashboard (shown after your account is connected).
- Or go to dashboard.stripe.com and sign in.
- Open Balances or Payouts to see money that has landed and transfers to your bank.
- Open Payments to see each successful checkout (amount, date, and status).
[Screenshot: Stripe Dashboard Balances / Payouts after a paid reservation]
Payout timing is set by Stripe (often a few business days after the first live charge). HOAResidents does not hold your amenity fees.
HOAResidents setup
Use these click-by-click steps. The payments card lives on the same Billing page as your HOAResidents subscription — it is labeled for resident and guest fees, not your software plan.
1. Open Settings → Billing
- Sign in to HOAResidents as an organization admin.
- Open your HOA, then go to Settings.
- Click Billing.
- Scroll to Collect resident and guest fees. This is the Stripe Connect section. Your HOAResidents subscription is a separate card on the same page.
[Screenshot: Billing page with Collect resident and guest fees]
2. Click Connect Stripe
- Click Connect Stripe.
- Stripe Express opens in the same browser window.
- Complete business details, bank account, and identity checks. Submit when Stripe says you are done.
- Stripe returns you to HOAResidents Billing. Status should move from “not started” to in progress, then to Your organization can collect payments when charges are ready.
[Screenshot: Connect Stripe button]
If status still says onboarding is in progress, finish any remaining Stripe requirements (often identity or bank verification). Use Update Stripe account to reopen the form.
3. Confirm Connected status
You are ready to charge when Billing shows that your organization can collect payments.
- If you see a disabled reason from Stripe, fix it in Express, then refresh Billing.
- You can open the Express dashboard anytime with Open Stripe dashboard.
[Screenshot: Connected status — organization can collect payments]
4. Create or edit an amenity and add a booking fee
- Go to organization Settings → Amenities (or open Amenities from your admin menu).
- Click to create a new amenity, or open an existing one and choose edit.
- Fill in the usual details (name, hours, rules). A booking fee does not require board approval.
- Find Booking fee (USD).
- Enter the amount the resident should pay (for example 25.00). Leave it empty for a free amenity.
- Optional: add a short payment note (what the fee covers). Stripe Checkout is how they pay — this note is only extra context.
- Save the amenity. If Stripe is not connected yet, HOAResidents blocks the save and links you back to Billing.
[Screenshot: Amenity editor with Booking fee field]
The form shows the listed fee and an estimate of what you receive after typical US card processing (about 2.9% + $0.30). The resident always pays the listed fee. Recurring series cannot be used on a paid amenity in this version — one checkout per reservation.
5. How a resident books and pays
- The resident opens Amenity Reservations and chooses the paid amenity.
- They pick a date and time, accept the rules, and continue.
- HOAResidents holds the slot and sends them to Stripe Checkout for the fee you set. They do not type a card into HOAResidents.
- After a successful payment they return to the portal. The reservation is confirmed — or it moves to pending approval if you turned on board approval.
- If they cancel Checkout, the slot stays held for a short time (about 20 minutes) so they can try again. Unpaid holds then expire and the time opens up.
[Screenshot: Stripe Checkout paying an amenity booking fee]
6. How an admin sees a paid reservation
- Open the amenity reservations list for your HOA.
- Awaiting payment means the slot is held and Checkout is not finished yet.
- After payment, the row moves to Confirmed (or Pending requests if approval is required).
- The fee amount is stored on that reservation so later fee changes do not rewrite it.
[Screenshot: Admin reservations list with Awaiting payment and fee]
Troubleshooting
Connect status is still pending
Open Settings → Billing → Update Stripe account and finish every Stripe requirement. Identity or bank verification can take extra time. Refresh Billing after Stripe emails you. Until status says you can collect payments, you cannot save a booking fee.
I cannot save a paid amenity
HOAResidents requires a connected, charges-ready Stripe account before a booking fee will save. Use the Open payout settings link on the amenity form, complete Connect Stripe, then return and save.
Payment succeeded but the reservation still says awaiting payment
The return page asks HOAResidents to confirm the Checkout session. If the page still looks pending, wait a moment and refresh. Stripe also notifies HOAResidents in the background. If the card was charged and the reservation is still unpaid after several minutes, contact support@hoaresidents.com with the amenity name and time.
The resident’s payment failed
They can open the amenity again and complete Checkout with another card. A failed or abandoned Checkout does not confirm the reservation. If the hold expired, they pick the slot again.
Refunds
There is no refund button on the amenity reservation screen yet. Email support@hoaresidents.com with the reservation and reason. Do not expect to reverse a reservation payment yourself inside Stripe Express.
Security and trust
- HOAResidents never stores bank account numbers, routing numbers, or Social Security numbers. Those stay on Stripe’s Express forms.
- Onboarding is Stripe-hosted. You complete verification on Stripe, then return to HOAResidents.
- Platform fee on amenity charges is $0. HOAResidents only passes through an estimate of Stripe’s card processing so the platform does not lose money on the charge. Your HOA nets the listed fee minus those card costs.
- The resident never types a card into HOAResidents. Amounts are calculated on the server from the amenity fee you saved.
FAQ
Does HOAResidents take a percentage of amenity fees?
No. HOAResidents’ cut on amenity reservation charges is $0. Stripe’s card processing is deducted from what your association receives.
Do I paste Stripe API keys into HOAResidents?
No. Click Connect Stripe on Settings → Billing and finish Express onboarding.
Can some amenities stay free?
Yes. Only amenities with a booking fee greater than zero go through Checkout.
Do I have to require approval to charge a fee?
No. Charge only, approve only, or charge first and approve after payment.
Can I charge for a repeating series?
Not in this version. Paid amenities cannot use recurring reservations. Book each paid occurrence separately.
Where does the money go?
To the Stripe connected account you onboarded, then to the bank account you added in Express.
Ready to take a paid booking? Sign up or sign in, connect Stripe on Billing, add a booking fee, and run one test reservation. For Amenity Reservations features, see HOA facility booking.
In the product
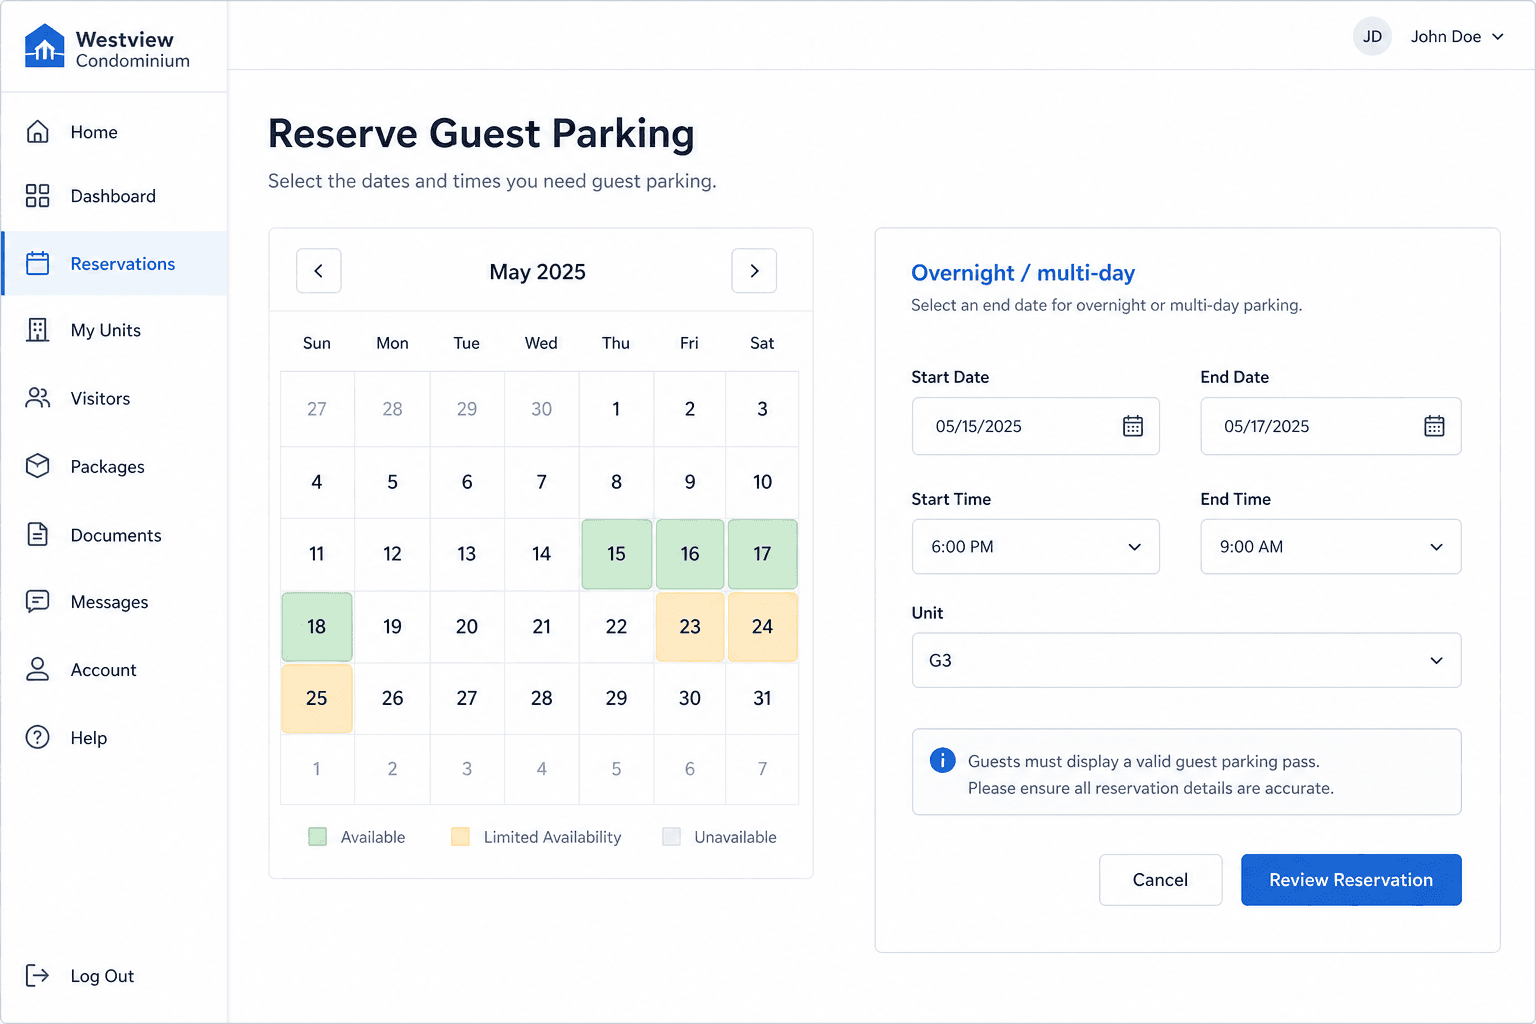
Amenities stay free until you add a booking fee. Connect Stripe on Settings → Billing first. 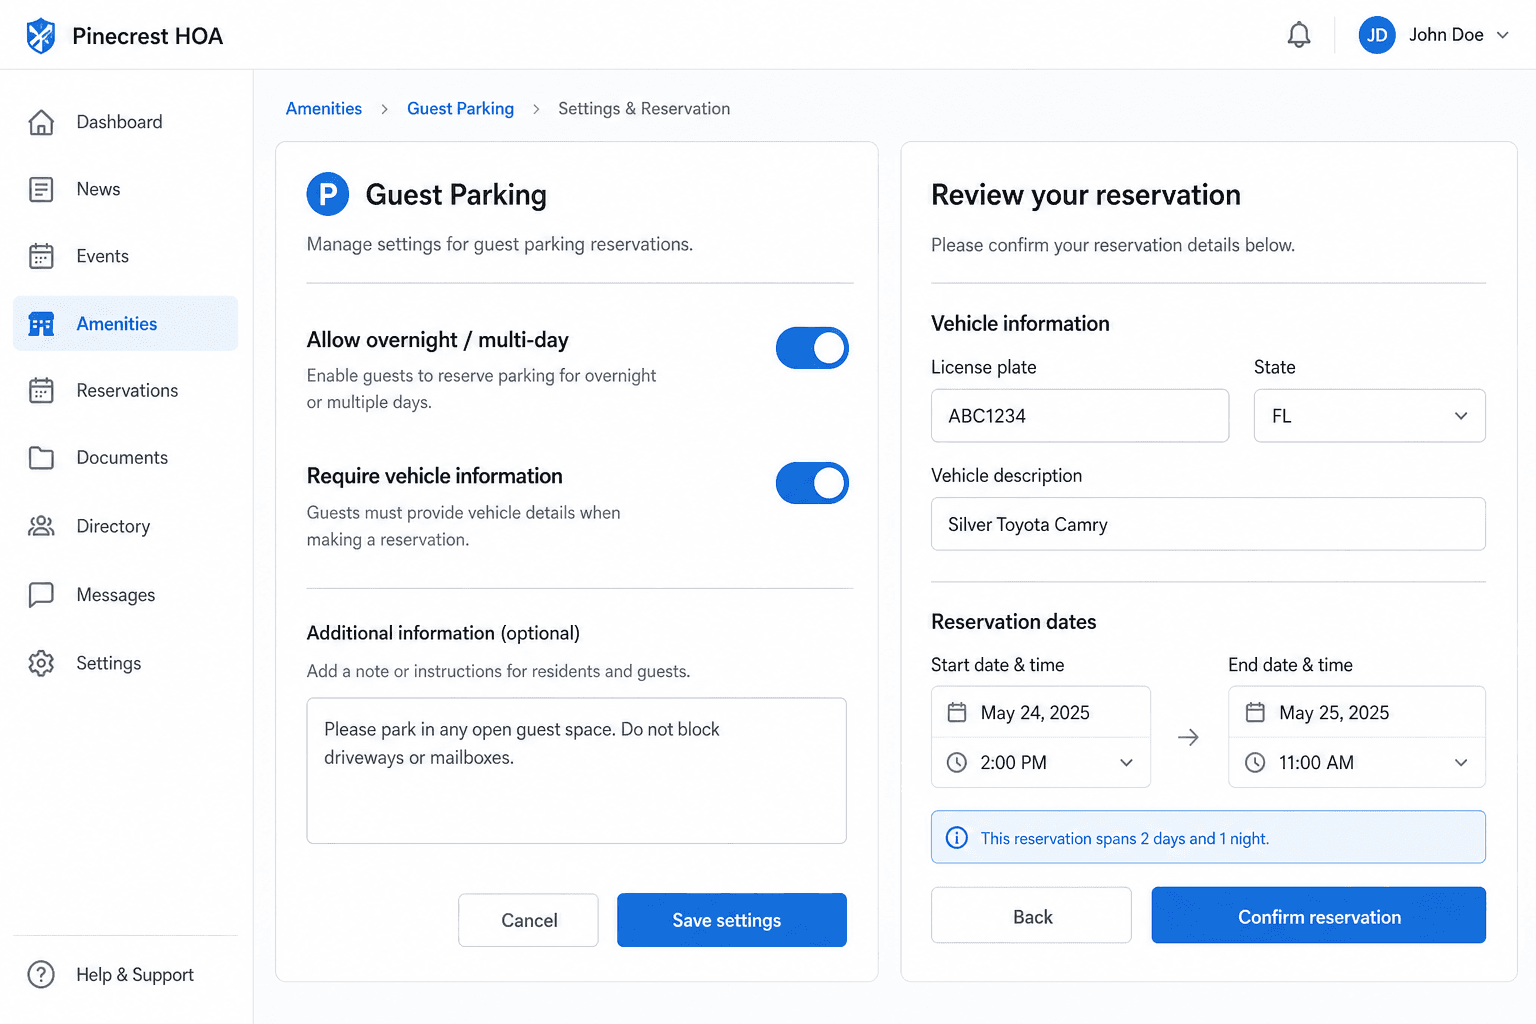
Set a booking fee in USD on the amenity. Residents pay that amount at Stripe Checkout. 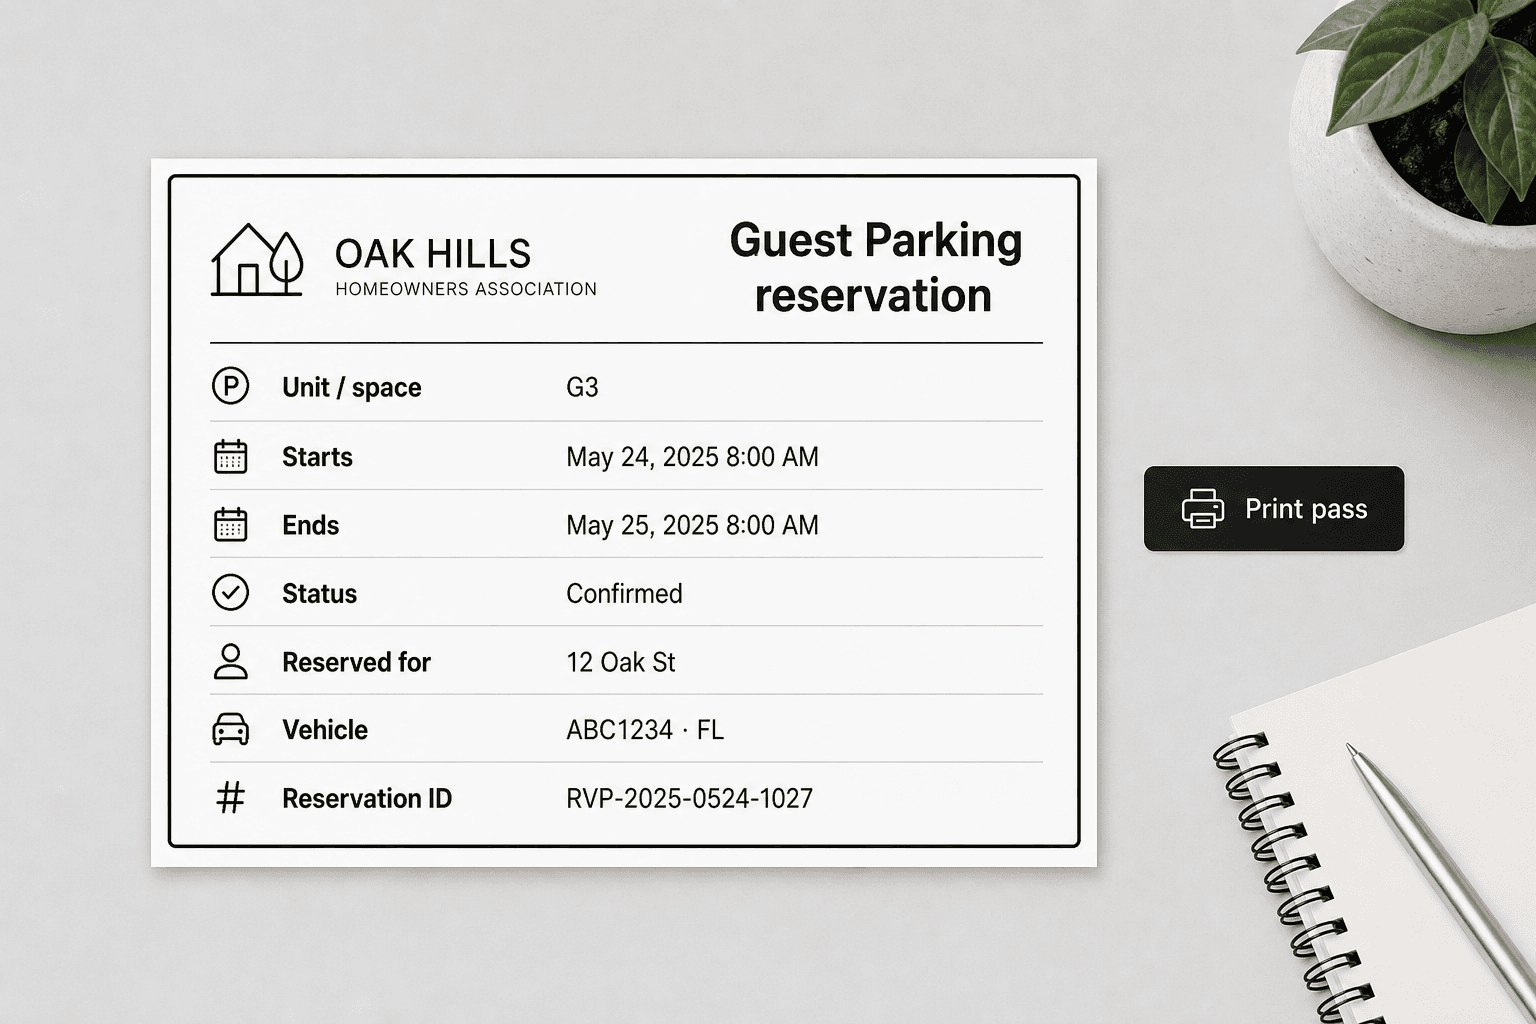
A confirmed pass is issued after payment (and approval, if you require it).